Prep time: 15 minutes
Cook time: 25 minutes
Chilling time: 4 hours (minimum)
Total time: 4 hours 40 minutes
Yield: 9 squares
Intensity: Easy (Simple stove-top and oven method)
Description
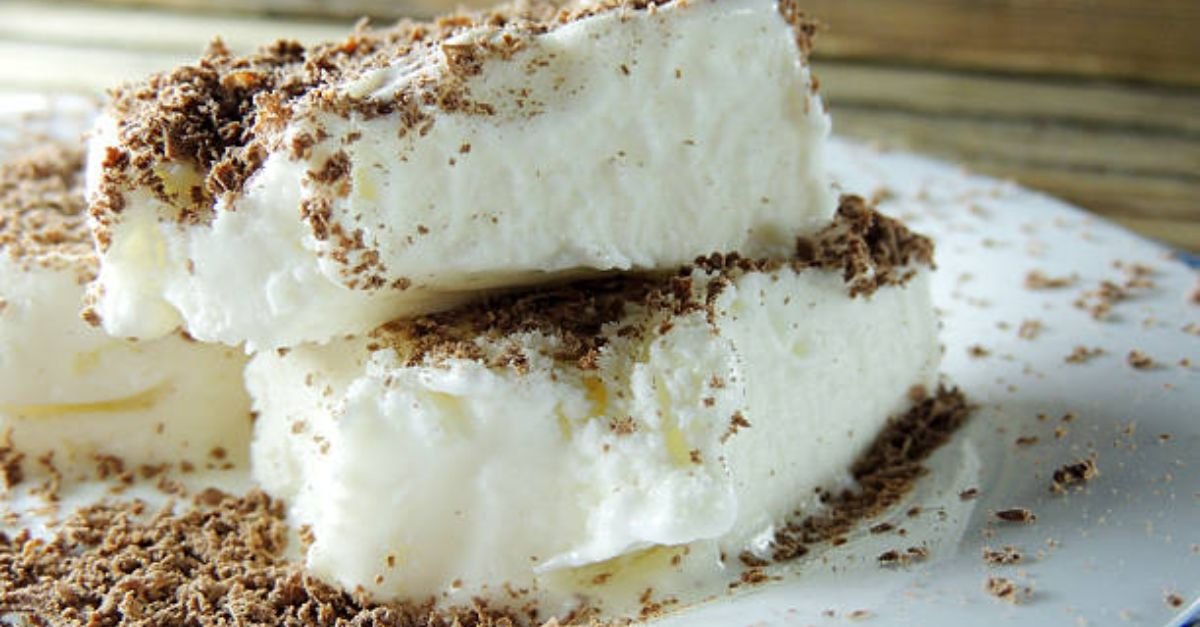
Indulge in a dessert that feels wonderfully decadent while strictly adhering to a carnivore lifestyle. These Chilled Carnivore Custard Squares are a delightful paradox: rich, creamy, and satisfying, yet made from just a handful of animal-based ingredients. Imagine a cross between a dense, creamy cheesecake and a firm, eggy flan. The texture is smooth and luxurious, perfectly chilled for a refreshing treat, especially on a warm day. Sweetened only with a touch of honey (optional for strict carnivores) and relying on the natural richness of eggs and cream, these squares are proof that a meat-based diet can still include a little something special. They are gluten-free, grain-free, and sugar-free (if using the optional honey, use sparingly), making them a perfect, guilt-free finish to any meal.
Ingredients
-
For the Custard:
-
6 large eggs (preferably pasture-raised)
-
2 cups (500 ml) heavy cream (or a mix of cream and full-fat milk for a slightly less rich version)
-
1/2 cup (120g) unsalted butter, melted
-
1-2 tablespoons honey (optional, adjust to your desired sweetness. Omit for a completely sugar-free, strict carnivore version)
-
1 teaspoon vanilla extract (optional, as it’s derived from plants, but adds a lovely flavor. Omit for strict carnivore)
-
-
For the Pan:
-
Butter or tallow, for greasing the baking dish
-
Instructions
-
Preheat and Prepare: Begin by preheating your oven to 325°F (160°C). Grease an 8×8 inch (20×20 cm) square baking dish thoroughly with butter or tallow. This will ensure your custard squares release easily after chilling.
-
Infuse the Cream (Gentle Heating): In a small saucepan, combine the heavy cream and the butter. Warm over medium-low heat, stirring occasionally, just until the butter is melted and the cream is hot but not simmering or boiling. The goal is to melt the butter and warm the cream so it blends seamlessly with the eggs without cooking them. Remove from heat and let it cool slightly while you prepare the eggs.
-
Whisk the Eggs: In a large mixing bowl, crack the 6 eggs. Whisk them vigorously until the yolks and whites are completely combined and the mixture is slightly frothy. If you are using honey and vanilla, whisk them into the eggs now.
-
Temper the Egg Mixture: This is a crucial step to prevent scrambled eggs. While whisking the eggs constantly with one hand, very slowly pour a thin, steady stream of the warm cream mixture into the bowl with the other. This gradually raises the temperature of the eggs, allowing them to blend smoothly with the hot liquid. Continue whisking until everything is fully incorporated.
-
Strain for Smoothness (Optional but Recommended): For the silkiest, most professional texture, pour the entire custard mixture through a fine-mesh sieve into a large measuring jug or another bowl. This will catch any stray bits of egg that might have started to cook or the chalaza (the thick, white strand in the egg), ensuring a perfectly smooth custard.
-
Fill the Pan: Carefully pour the strained custard into your prepared 8×8 baking dish.
-
Create a Water Bath (Bain-Marie): Place the filled baking dish inside a larger roasting pan. Place the roasting pan on the oven rack, then carefully pour hot (not boiling) water into the roasting pan until it reaches about halfway up the sides of the baking dish. The water bath provides gentle, indirect heat, which is essential for baking a creamy, crack-free custard.
-
Bake to Perfection: Bake for 25-35 minutes. The custard is done when the edges are set but the very center still has a slight jiggle when you gently shake the pan. A knife inserted near the center should come out mostly clean, perhaps with a little moisture. Be careful not to overbake, or the texture will become rubbery.
-
Cool Completely: Carefully remove the baking dish from the water bath and place it on a wire rack. Allow the custard to cool completely to room temperature. This can take about an hour.
-
The Essential Chill: Once cooled, cover the baking dish with plastic wrap or a lid and transfer it to the refrigerator. Chill for a minimum of 4 hours, but preferably overnight. This step is non-negotiable; it allows the custard to fully set and develop its flavor, transforming it into the perfect “square” texture.
-
Slice and Serve: To serve, run a thin knife around the edge of the pan. You can either slice it directly in the pan or carefully invert the whole block onto a cutting board. Slice into 9 even squares. Serve cold directly from the fridge.
Nutrition Information (per square, based on 9 servings, using 1 tbsp honey)
Disclaimer: This is an estimate provided for informational purposes only and is not a substitute for professional medical advice. Values can vary based on the specific ingredients used.
-
Calories: ~380
-
Fat: ~36g
-
Saturated Fat: ~22g
-
Cholesterol: ~270mg
-
Sodium: ~95mg
-
Carbohydrates: ~4g (mostly from the optional honey)
-
Sugar: ~4g (mostly from the optional honey)
-
Protein: ~8g