Prep Time: 45 Minutes
Cook Time: 35 Minutes
Inactive Time: 8 Hours (or overnight)
Total Time: 9 Hours 20 Minutes
Yield: 2 Loaves
Intensity: Medium-High
Why This Recipe Works
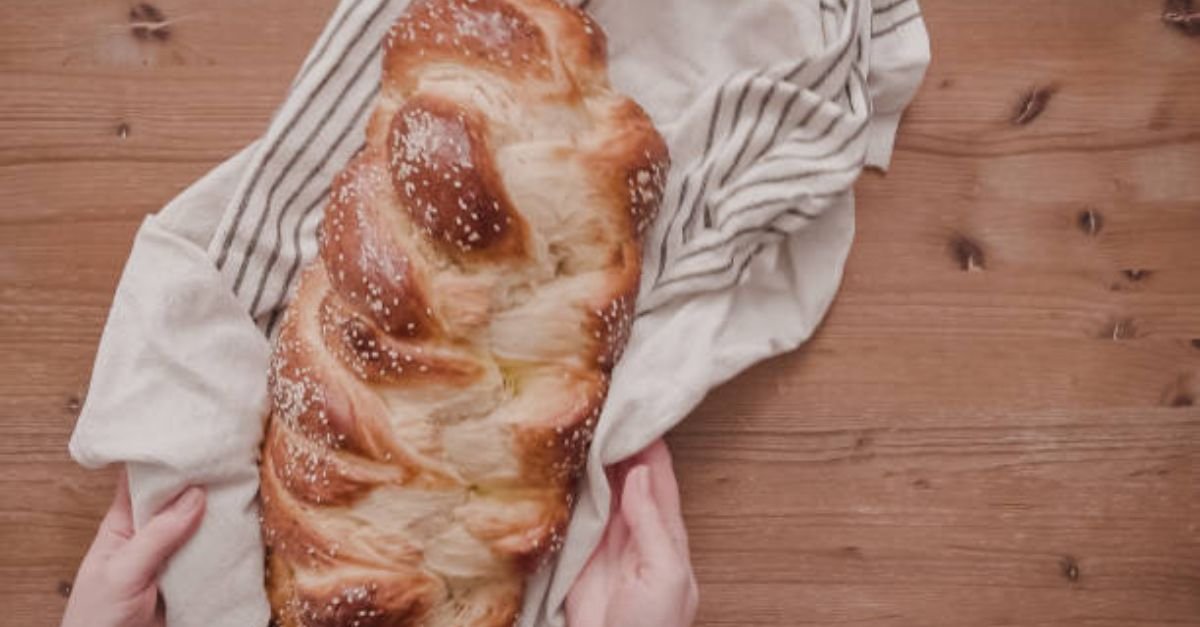
Challah is a bread of celebration, rich with eggs and oil, traditionally braided into stunning loaves for Shabbat and holidays. While classic challah is delightful, this version takes it a step further by harnessing the power of a mature sourdough starter.
The natural fermentation does more than just add a subtle, complex tang; it acts as a natural dough conditioner. The long, slow rise breaks down the flour, resulting in a crumb that is even more tender and fluffy than a standard yeast challah. The crust achieves a deep, mahogany sheen, while the inside remains pillowy soft with that signature sourdough “custard” crumb.
This recipe is designed for the intermediate baker. While the technique is straightforward, it requires patience for the bulk fermentation and a gentle hand for braiding. The reward? Two show-stopping, deeply flavorful loaves that taste as incredible as they look.
Ingredients
For the Levain (Build the night before):
-
35g (2 tbsp) active sourdough starter (100% hydration, fed 8-12 hours prior)
-
70g (½ cup + 1 tbsp) bread flour
-
70g (¼ cup + 1 tbsp) water, room temperature
For the Dough:
-
150g (⅔ cup) water, lukewarm (about 90°F / 32°C)
-
3 large eggs (about 150g), plus 1 large egg yolk, room temperature
-
120g (½ cup) vegetable oil, or a neutral oil like avocado or grapeseed
-
120g (⅓ cup + 1 tbsp) honey
-
All of the levain (about 170g total)
-
620g (5 cups) bread flour, plus more for dusting
-
12g (2 tsp) fine sea salt
For the Egg Wash:
-
1 large egg
-
1 tbsp water
-
Optional: Poppy seeds, sesame seeds, or flaky sea salt for garnish
Instructions
Day 1: Build the Levain
-
Feed Your Starter (Intensity: Low): The evening before you plan to mix your dough, combine 35g of your active starter, 70g of bread flour, and 70g of water in a small jar or bowl. Mix until no dry flour remains. Cover loosely and let sit at room temperature for 8-12 hours. It is ready when it has doubled in size, is bubbly on top, and passes the “float test” (a small dollop floats in water).
Day 2: Mix, Ferment, Shape, and Bake
-
Combine Wet Ingredients (Intensity: Low): In the bowl of a stand mixer, whisk together the lukewarm water, 3 whole eggs and the 1 extra yolk, vegetable oil, honey, and all of the levain from the previous step. Mix until the eggs are fully incorporated and the mixture is homogenous.
-
Mix the Dough (Intensity: Medium): Add the bread flour to the wet mixture. Using the dough hook attachment, mix on low speed (speed 2 on a KitchenAid) until a shaggy, cohesive dough forms, about 2-3 minutes. Cover the bowl with a damp towel and let the dough rest for 30 minutes (autolyse). This allows the flour to fully hydrate.
-
Incorporate Salt & Develop Gluten (Intensity: High): Sprinkle the salt over the dough. Mix on medium-low speed (speed 4) for 8-10 minutes. The dough should become smooth, shiny, and pull away cleanly from the sides of the bowl. It will be very soft and supple, but not sticky. To test for gluten development, perform the “windowpane test”: gently stretch a small piece of dough between your fingers. It should stretch thin enough to see light through it without tearing.
-
Bulk Fermentation (Intensity: Low): Transfer the dough to a lightly oiled, clear container or large bowl. Cover and let it rise in a warm place (75-80°F / 24-27°C is ideal). This is a long rise, about 5-6 hours. Perform 3 sets of “stretch and folds” during the first 2 hours, spaced 30 minutes apart.
-
How to stretch and fold: With wet hands, reach under one side of the dough, pull it up, and fold it over the top. Rotate the bowl and repeat 4-5 times.
-
The dough is ready when it has increased in volume by about 50%, is puffed, and shows small bubbles on the surface and sides.
-
-
Divide and Pre-shape (Intensity: Medium): Turn the dough out onto a lightly floured surface. Gently deflate it. Divide the dough into 2 equal halves (about 720g each). For a 6-strand braid, divide one half into 6 equal pieces (about 120g each). For a 4-strand braid, divide into 4 equal pieces (about 180g each). Gently shape each piece into a tight ball by pulling the sides underneath. Cover the balls with a damp towel and let them rest for 20 minutes. This relaxes the gluten, making rolling easier.
-
Shape the Braids (Intensity: High): On a lightly floured surface, roll each ball into a rope about 12-14 inches long. The ropes should be tapered slightly at the ends. Braid the strands:
-
For a 4-strand braid: Lay 4 ropes vertically. Pinch the tops together. Move the rightmost strand over two strands, under one, and to the left. Then move the leftmost strand over two, under one, and to the right. Repeat this pattern until the loaf is braided, then pinch the ends together.
-
For a 6-strand braid: Lay 6 ropes vertically. Pinch the tops together. Number the strands 1-6 from left to right. Move strand 6 over 5, under 4, over 3, under 2. Then move strand 1 over 2, under 3, over 4, under 5. Repeat until finished.
-
-
Final Proof (Intensity: Low): Line two baking sheets with parchment paper. Carefully transfer each braided loaf to a prepared sheet. Loosely cover with plastic wrap or a damp towel. Let them proof at room temperature for 3-4 hours, or until they are very puffy, have grown significantly in size, and a finger poked gently into the side leaves a slow, slight indentation that doesn’t fully spring back.
-
Preheat and Prepare: About 30 minutes before baking, position your oven racks to the middle and lower thirds. Preheat your oven to 375°F (190°C). In a small bowl, whisk together the remaining egg and 1 tbsp of water for the egg wash.
-
Bake (Intensity: Medium): Gently brush the loaves with a thin, even layer of egg wash. Be careful not to let it pool in the crevices. Sprinkle with poppy seeds or sesame seeds if desired. Place the baking sheets in the oven. Bake for 20 minutes. Then, rotate the sheets from top to bottom and front to back. Bake for another 15-20 minutes, or until the loaves are a deep, dark golden brown and the internal temperature reaches 200°F (93°C) on an instant-read thermometer.
-
Cool (Intensity: Low): Remove the loaves from the oven and transfer them to a wire rack. Let them cool completely before slicing, at least 2 hours. This is crucial for the crumb to set; cutting in too soon will result in a gummy texture.
Storage & Serving
-
Storage: Store leftover challah in an airtight container at room temperature for up to 3 days. It also makes exceptional French toast.
-
Freezing: These loaves freeze beautifully. Wrap them tightly in plastic wrap and then foil. Freeze for up to 3 months. Thaw at room temperature before serving.
Nutrition Information
Serving size: 1 slice (based on 1 loaf yielding 12 slices)
| Nutrient | Amount |
|---|---|
| Calories | 285 kcal |
| Total Fat | 12g |
| Saturated Fat | 1.5g |
| Carbohydrates | 38g |
| Dietary Fiber | 1g |
| Sugars | 6g |
| Protein | 7g |
| Sodium | 210mg |