-
Prep Time: 25 minutes
-
Chill Time: Minimum 4 hours (or overnight)
-
Total Time: 4 hours 25 minutes
-
Intensity/Skill Level: Easy
-
Serves: 8-10 slices
-
Dietary Info: High Protein, Lower Sugar, Vegetarian (can be Gluten-Free with easy modifications)
Why You’ll Love This Recipe
-
High Protein Powerhouse: With protein from Greek yogurt, protein powder, and cream cheese, each slice packs a serious protein punch, helping to keep you full and satisfied.
-
No-Bake & Effortless: No water baths, no worrying about cracks, and no oven required! A food processor and a springform pan are your best friends here.
-
Incredible Texture: The filling is unbelievably smooth, creamy, and light, perfectly contrasting with the firm, slightly chewy crust.
-
Customizable: Feel free to swap the blueberries for raspberries, strawberries, or even a swirl of sugar-free chocolate sauce.
-
Perfect for Meal Prep: This cheesecake stores beautifully in the fridge, making it an excellent make-ahead dessert for healthy eating all week long.
Ingredients
Here’s everything you’ll need to create this masterpiece. Make sure your ingredients are at room temperature where indicated for the smoothest filling.
For the Almond & Date Crust:
-
1 cup (120g) Almond Flour (or oat flour for a nut-free option)
-
1/2 cup (75g) Rolled Oats (use certified gluten-free oats if needed)
-
1/2 cup (80g) Medjool Dates, pitted (about 4-5 large dates)
-
2 tablespoons Coconut Oil, melted
-
1 tablespoon Water (if needed)
-
1/4 teaspoon Salt
For the High Protein Cheesecake Filling:
-
2 cups (450g) Plain Non-Fat Greek Yogurt
-
8 oz (225g) Reduced-Fat Cream Cheese, softened to room temperature
-
1 scoop (approx. 30g) Vanilla or Unflavored Protein Powder (whey, casein, or a high-quality plant-based blend works well)
-
1/3 cup (80ml) Honey or Maple Syrup (adjust to your sweetness preference)
-
1 teaspoon Vanilla Extract
-
Zest of 1 Lemon (optional, but brightens the flavor beautifully)
For the Blueberry Swirl Compote:
-
1 cup (150g) Fresh or Frozen Blueberries
-
1 tablespoon Chia Seeds
-
1 tablespoon Lemon Juice
-
1-2 tablespoons Water
Step-by-Step Instructions
Part 1: Prepare the Blueberry Swirl
-
Simmer the Berries: In a small saucepan, combine the blueberries, lemon juice, and 1 tablespoon of water. Place over medium heat.
-
Create the Compote: Bring to a gentle simmer and cook for 5-7 minutes, stirring occasionally, until the blueberries have broken down and the mixture has thickened slightly.
-
Add Chia: Remove from the heat and stir in the chia seeds. The chia seeds will absorb excess liquid and help the compote thicken into a jammy consistency as it cools.
-
Cool Completely: Transfer the compote to a small bowl and set it aside to cool completely. You can pop it in the fridge to speed up the process.
Part 2: Make the No-Bake Crust
-
Prepare Your Pan: Lightly grease the bottom and sides of an 8-inch springform pan with a little coconut oil. Line the bottom with a circle of parchment paper for easy removal.
-
Blend the Crust: In a food processor, combine the pitted dates, almond flour, rolled oats, and salt. Pulse until the mixture resembles coarse sand and the dates are finely chopped.
-
Add the Fat: Add the melted coconut oil and pulse again. The mixture should start to clump together when you press it between your fingers. If it seems too dry, add the tablespoon of water and pulse once more.
-
Press the Crust: Transfer the crust mixture into your prepared springform pan. Use your fingers or the flat bottom of a glass to press it down firmly and evenly into the base. Make sure it’s tightly packed so it holds together after slicing.
-
Chill: Place the crust in the refrigerator to set while you prepare the filling.
Part 3: Create the High Protein Filling
-
Beat the Cream Cheese: In a large mixing bowl, use a hand mixer (or a stand mixer with the paddle attachment) to beat the softened cream cheese until it is completely smooth and free of lumps.
-
Combine Wet Ingredients: Add the Greek yogurt, honey (or maple syrup), and vanilla extract to the bowl. Mix on low speed until everything is well combined and smooth. Scrape down the sides and bottom of the bowl with a spatula.
-
Add the Protein Powder: With the mixer on low, slowly sprinkle in the protein powder. Mix until it is fully incorporated. Be careful not to over-mix, as this can make the filling too thick or gummy. The filling should be thick, creamy, and luscious. If you’re using the lemon zest, fold it in now.
Part 4: Assemble the Cheesecake
-
Add the First Layer: Remove the crust from the fridge. Pour the cheesecake filling over the firm crust and spread it into an even layer with your spatula.
-
Add the Blueberry Swirl: Take your cooled blueberry compote. If it’s very thick, give it a quick stir. Drop spoonfuls of the compote randomly over the top of the cheesecake filling.
-
Create the Swirl: Using a butter knife or a wooden skewer, gently swirl the blueberry compote into the filling. Be careful not to over-swirl, or it will become muddy. A few figure-eight motions are all you need to create a beautiful marbled effect.
-
The Final Chill: Gently tap the pan on the counter a few times to release any air bubbles. Carefully place the cheesecake in the refrigerator to set. It needs to chill for at least 4 hours, but overnight is highly recommended for the cleanest slices.
Part 5: Serve and Enjoy!
-
Unmold: Once fully set, remove the cheesecake from the springform pan. Carefully peel away the parchment paper from the bottom.
-
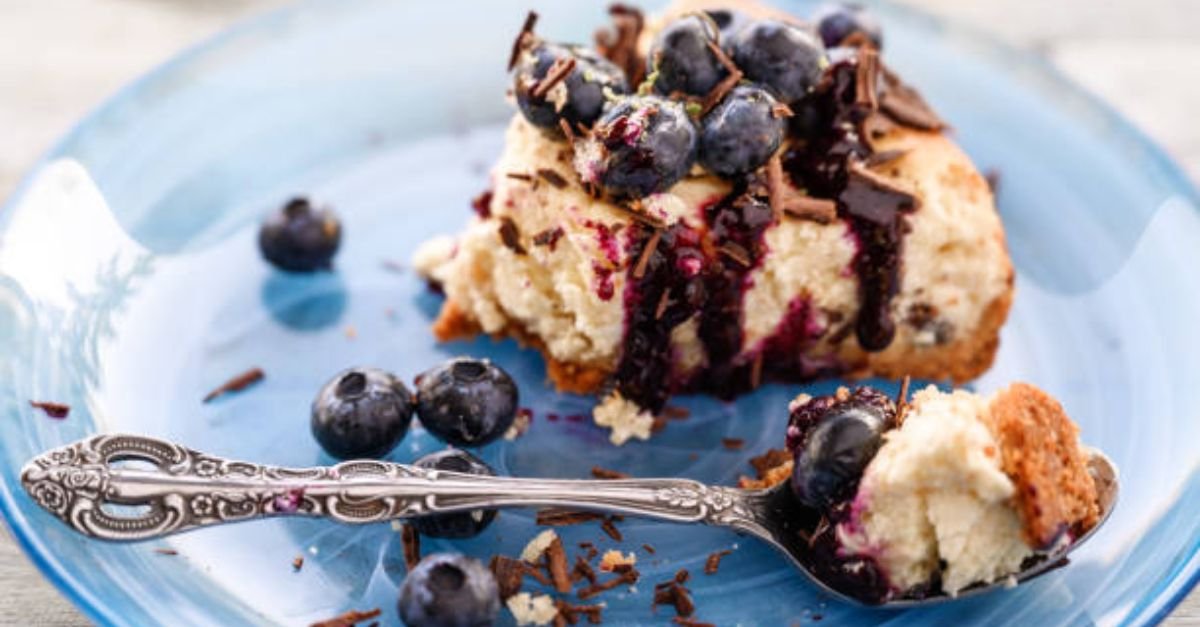
Slice and Serve: For the cleanest slices, use a large, sharp knife. Run the knife under hot water, wipe it dry, and make your cut. Repeat this process for each slice. This cheesecake is delicious on its own, but you can garnish with fresh blueberries and a sprig of mint for a beautiful presentation.
Chef’s Tips for Success
-
Room Temperature is Key: Ensure your cream cheese is softened to room temperature. This is crucial for a smooth, lump-free filling.
-
Protein Powder Matters: The type of protein powder you use will affect the texture. Whey or casein blends work great. If using a plant-based powder, make sure it’s a creamy variety, as some can be gritty or absorb too much liquid. You may need to add an extra tablespoon of yogurt or milk if the filling seems too thick.
-
Patience with Chilling: Don’t rush the chilling process. An under-set cheesecake will be a mess to slice. Giving it a full 6-8 hours (or overnight) guarantees perfect, firm slices.
-
Make it Gluten-Free: This recipe is easily made gluten-free by ensuring you use certified gluten-free rolled oats.
Nutrition Information
(Please note: This is an estimate and will vary based on the specific brands and ingredients you use, especially the type and brand of protein powder. This calculation assumes 10 slices and the use of a standard vanilla whey protein powder.)
| Nutrient | Amount Per Serving (approx. 1 slice) |
|---|---|
| Calories | ~245 kcal |
| Protein | ~18g |
| Fat | ~12g |
| Carbohydrates | ~22g |
| Fiber | ~4g |
| Sugar | ~14g (Naturally occurring from dates, honey, and berries) |