Total Time: 1 hour 30 minutes (Active: 30 minutes, Inactive: 1 hour)
Difficulty: Intermediate
Servings: 12
Course: Dessert
Dietary Tags: Gluten-Free, Grain-Free, Sugar-Free, Keto-Friendly
Introduction
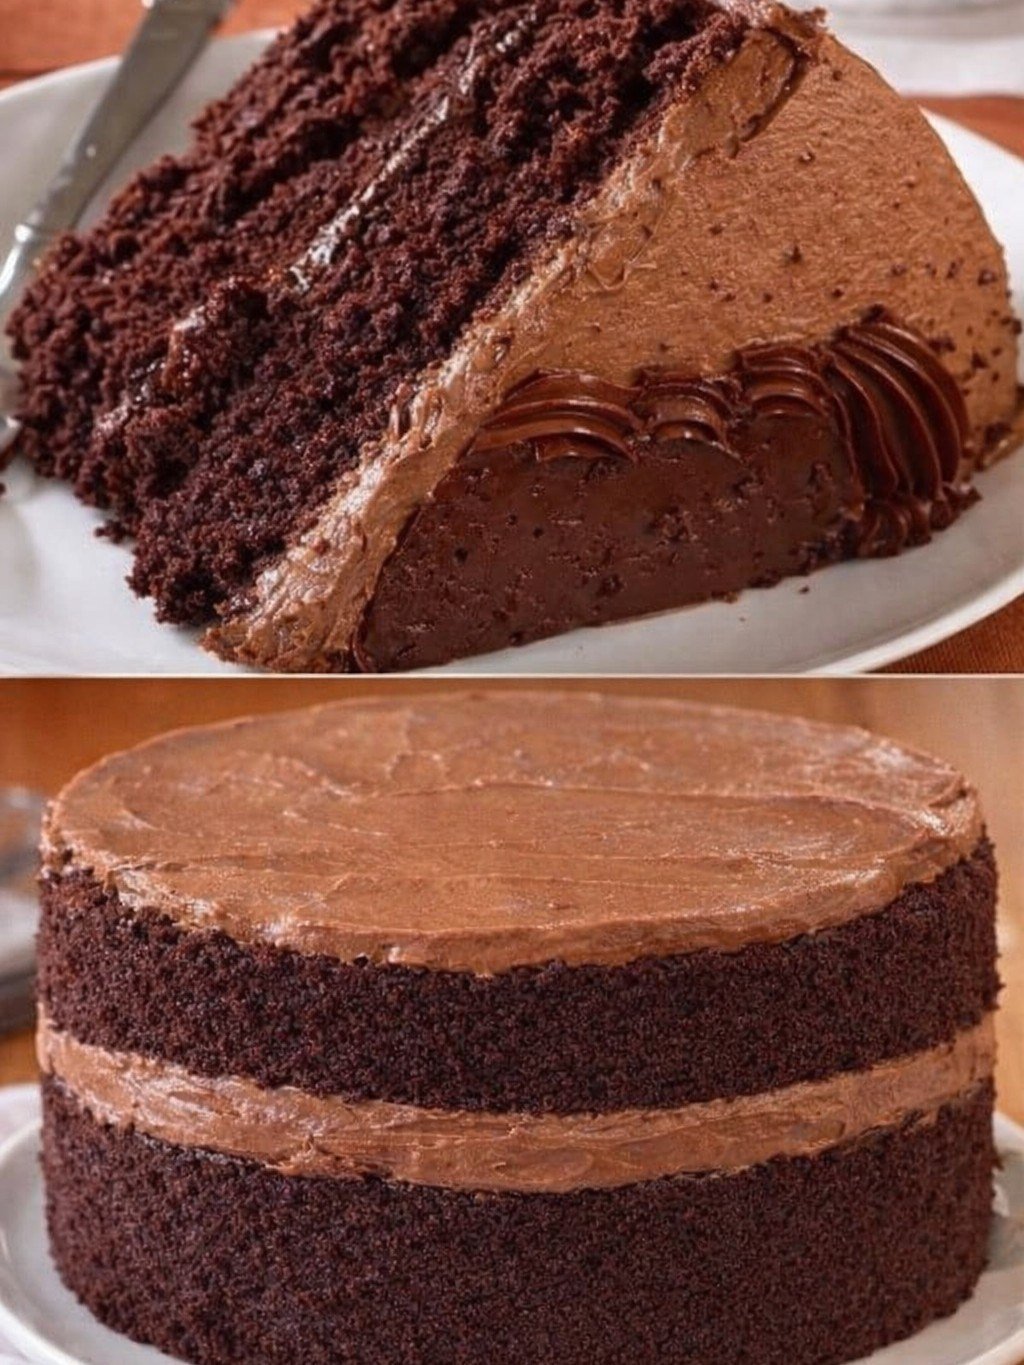
This Keto Blackout Cake is the definitive answer to chocolate cravings on a low-carb diet. Forget everything you think you know about “diet” desserts. This cake is an intense, fudgy, and deeply satisfying chocolate experience that rivals any traditional flour-based counterpart. With a moist, dense crumb and a rich chocolate glaze that hardens to a delicate shell, each bite is a plunge into pure cocoa bliss. Designed for special occasions or when you need an impressive, indulgent treat, this cake proves that keto doesn’t mean sacrifice—it means smarter, equally delicious choices.
Nutritional Information (Per Serving)
| Nutrient | Amount | % Daily Value |
|---|---|---|
| Calories | 385 kcal | |
| Total Fat | 35g | 45% |
| Saturated Fat | 18g | 90% |
| Total Carbohydrates | 12g | 4% |
| Dietary Fiber | 6g | 21% |
| Net Carbs | 6g | |
| Protein | 9g | 18% |
| Cholesterol | 145mg | 48% |
| Sodium | 220mg | 10% |
Percent Daily Values are based on a 2,000 calorie diet. Net carbs are total carbs minus fiber and sugar alcohols (erythritol).
Ingredients
For the Cake:
-
2 cups (200g) super-fine almond flour
-
¾ cup (75g) unsweetened cocoa powder (Dutch-processed preferred)
-
½ cup (100g) granulated erythritol (or monk fruit blend)
-
2 tsp baking powder
-
½ tsp fine sea salt
-
4 large eggs, at room temperature
-
½ cup (115g) unsalted butter, melted and cooled
-
½ cup (120ml) unsweetened almond milk
-
1 tsp pure vanilla extract
-
½ cup (85g) sugar-free dark chocolate chips (at least 85% cocoa)
For the Blackout Glaze:
-
1 cup (170g) sugar-free dark chocolate chips
-
½ cup (115g) heavy whipping cream
-
2 tbsp (28g) unsalted butter
-
1 tbsp granulated erythritol (optional, for extra sweetness)
-
Pinch of sea salt
Optional Garnish:
-
Flaky sea salt
-
Fresh raspberries
-
Whipped cream
Equipment Needed
-
8-inch round cake pan (springform recommended)
-
Parchment paper
-
Mixing bowls (medium and large)
-
Whisk and silicone spatula
-
Double boiler or heatproof bowl and saucepan
-
Cooling rack
-
Offset spatula or knife for spreading glaze
Step-by-Step Instructions
Part 1: Prepare the Cake Batter (Time: 15 minutes | Intensity: Medium)
-
Preheat and Prep: Preheat your oven to 350°F (175°C). Line the bottom of an 8-inch cake pan with parchment paper and grease the sides thoroughly with butter or coconut oil.
-
Combine Dry Ingredients: In a medium bowl, whisk together the almond flour, cocoa powder, granulated sweetener, baking powder, and salt. Ensure there are no lumps.
-
Combine Wet Ingredients: In a large bowl, whisk the eggs until uniform. While whisking continuously, slowly stream in the melted butter until fully incorporated. Add the almond milk and vanilla extract, and whisk until smooth.
-
Form the Batter: Add the dry ingredients to the wet ingredients. Using a silicone spatula, fold gently but thoroughly until a thick, uniform batter forms. Be careful not to overmix. Fold in the ½ cup of sugar-free chocolate chips.
-
Bake: Pour the batter into the prepared pan and smooth the top. Bake for 28-32 minutes, or until a toothpick inserted into the center comes out with a few moist crumbs (not wet batter). The cake will be dense and may not dome much.
Part 2: Cool the Cake (Time: 1 hour | Intensity: Low)
-
Initial Cool: Let the cake cool in the pan on a wire rack for 20 minutes. This allows it to set.
-
Final Cool: Carefully run a knife around the edge of the pan. If using a springform, release the clasp. Otherwise, gently invert the cake onto the rack, peel off the parchment, and then flip it right-side-up to cool completely. The cake must be completely cool before glazing, or the glaze will melt. This takes about 40 minutes.
Part 3: Create the Blackout Glaze (Time: 10 minutes | Intensity: Medium)
-
Heat Cream: In a small saucepan, heat the heavy cream over medium heat until it just begins to simmer (small bubbles around the edges). Do not boil.
-
Melt Chocolate: Place the chocolate chips, butter, and optional sweetener in a heatproof bowl. Pour the hot cream over the chocolate and let it sit, undisturbed, for 3 minutes.
-
Emulsify: Add a pinch of salt. Starting in the center, gently whisk the mixture in small circles, gradually drawing in the chocolate from the edges until you have a smooth, glossy, and perfectly fluid ganache. Let it sit for 5-7 minutes to thicken slightly to a pourable but coating consistency.
Part 4: Assemble & Set (Time: 5 minutes + Setting | Intensity: Low)
-
Glaze the Cake: Place the cooled cake on a serving plate set over the cooling rack (to catch drips). Pour the warm glaze into the center of the cake. Using an offset spatula, gently guide the glaze to the edges, allowing it to cascade down the sides in a dramatic, dark waterfall. Ensure the top and sides are completely covered.
-
The Blackout Finish: For the signature “blackout” look, do not smooth the top perfectly. Let the glaze find its own natural, glossy waves.
-
Set: Allow the glazed cake to sit at room temperature for at least 30 minutes for the glaze to set into a beautiful, hard shell. You can speed this up with 15 minutes in the refrigerator.
Chef’s Notes & Success Tips
-
Ingredient Quality is Key: The flavor of this cake hinges on your cocoa and chocolate. Use a high-quality, unsweetened cocoa powder and the best sugar-free dark chocolate you can find.
-
Room Temperature Matters: Using room-temperature eggs prevents the melted butter from solidifying when mixed, leading to a smoother batter.
-
Avoid Overbaking: This is a moist, fudgy cake. Overbaking will make it dry. Err on the side of a few crumbs on the toothpick.
-
Sweetener Note: The cake is designed to be deeply chocolatey, not overly sweet. If you prefer a sweeter cake, increase the sweetener in the cake batter by 2-3 tablespoons.
-
Storage: Store covered at room temperature for 1 day, or in the refrigerator for up to 5 days. The texture becomes even more fudgy when chilled. You can also freeze slices for up to 3 months.
The Last Slice: A Final Thought
This Keto Blackout Cake is more than just a recipe; it’s a statement. It’s proof that dietary choices don’t have to limit joy or celebration. The process of making it—from the rich aroma that fills your kitchen to the satisfying crack of the set glaze under your fork—is as rewarding as eating it. It’s a dessert that demands to be shared, to be savored slowly, and to be met with delighted disbelief when you reveal its secret: that something this decadent aligns with a keto lifestyle. So slice, serve, and revel in the deep, dark, chocolate victory you’ve just created.