-
Total Time: 24-30 hours (mostly inactive fermentation)
-
Active Time: 25-30 minutes
-
Skill Level: Intermediate
-
Makes: 1 Loaf (9×5-inch loaf pan)
The Story Behind the Loaf
There’s something magical about a loaf of bread made with a sourdough starter. It’s not just bread; it’s a living thing, transformed by your care. This recipe is designed to demystify the process and deliver a consistently excellent sandwich loaf. The long, slow fermentation develops a complex flavor that you just can’t get from commercial yeast, while the addition of a little olive oil and milk ensures a soft, tender crumb that stays fresh for days. It’s the bread you’ll want to have on your counter, ready for whatever your day brings.
Ingredients
For the Stiff Starter (Peak Activity):
-
30g active sourdough starter (fed 8-12 hours prior)
-
70g bread flour
-
35g water (lukewarm)
For the Final Dough:
-
All of your stiff starter (from above)
-
360g warm water (about 90°F / 32°C)
-
120g whole milk (lukewarm)
-
50g olive oil (or melted unsalted butter for a richer flavor)
-
500g bread flour (plus more for dusting)
-
100g whole wheat flour (or spelt flour for a nuttier taste)
-
12g fine sea salt
-
25g honey or maple syrup (optional, for a hint of sweetness and better browning)
Note: A kitchen scale is highly recommended for accuracy and consistent results.
Instructions: A Step-by-Step Guide
Day 1: Building the Starter & Initial Mix (Active Time: 10 mins)
-
Build the Stiff Starter (9:00 AM): In a small bowl, combine the 30g of active starter, 70g bread flour, and 35g water. Mix until no dry bits remain. It will form a stiff, non-sticky dough ball. Cover and let it sit at room temperature. It will take 4-6 hours to become active and domed.
-
The Autolyse (3:00 PM): Once your stiff starter is bubbly and has risen, it’s go-time. In a large mixing bowl, combine the warm water, lukewarm milk, and olive oil. Crumble your stiff starter into the liquid and use your hands to break it up and disperse it as much as possible. Add the bread flour and whole wheat flour. Mix with your hand or a dough whisk until just a shaggy, messy dough forms and there are no dry patches. Cover the bowl with a damp towel or plastic wrap and let it rest for 30-60 minutes. This rest, called an autolyse, allows the flour to fully hydrate and starts the gluten development naturally.
-
Incorporate Salt & Sweetener (4:00 PM): Sprinkle the salt (and honey/maple syrup, if using) over the dough. Wet your hands to prevent sticking. Grab a handful of dough, stretch it up, and fold it over the top. Rotate the bowl and repeat this stretching and folding motion until the salt is fully incorporated and the dough feels a bit stronger and smoother. It will be shaggy, but that’s okay. Cover and let it rest for 30 minutes.
Day 1: Building Strength (Active Time: 15 mins, spread out)
-
Series of Stretch and Folds (4:30 PM – 6:30 PM): Over the next 2-3 hours, we’ll perform a series of gentle “stretch and folds” to build strength in the dough without strenuous kneading. Perform this set of 4 folds every 30 minutes, for a total of 4 sets.
-
How to do a stretch and fold: Wet your hand. Reach down the side of the bowl, gently grab the dough, stretch it up as high as it will go without tearing, and fold it over the top of the dough. Rotate the bowl 90 degrees and repeat. Do this four times (a full rotation) to complete one set. You’ll feel the dough tighten and become smoother with each set.
-
After the final set, cover the bowl and let it rest for the remainder of the evening.
-
-
Bulk Fermentation (7:00 PM – 9:00 AM next day): This is the long, cold proof. Place the covered bowl in the refrigerator. Let it ferment slowly overnight for 12-16 hours. The cold slows down the yeast, allowing the bacteria to produce more complex, tangy flavors. The dough should have nearly doubled in size by morning.
Day 2: Shaping & Final Proof (Active Time: 10 mins)
-
Shape the Loaf (9:00 AM): The next morning, remove the dough from the fridge. It will be puffy and fragrant. Lightly flour your work surface and turn the dough out onto it. Gently press it into a rough rectangle (about 8×10 inches). Starting from the top, fold the dough over itself by a third. Then, fold the bottom third up over the previous fold (like a business letter). Now, starting from the short end, gently roll the dough into a tight log, sealing the seam as you go. Pinch the final seam closed.
-
Pan it Up (9:10 AM): Lightly grease your 9×5-inch loaf pan. Place the shaped loaf into the pan, seam-side down. It should fit snugly.
-
Final Proof (9:15 AM – 12:15 PM): Cover the pan loosely with oiled plastic wrap or a reusable bowl cover. Let it proof at warm room temperature. This will take about 3-5 hours. You’re looking for the dough to rise until it is domed about 1 inch above the rim of the pan. The exact time depends on your kitchen’s temperature. The poke test is key: gently poke the dough with a floured finger. If the indentation springs back slowly and leaves a small dimple, it’s ready. If it springs back quickly, it needs more time. If it doesn’t spring back at all, it’s slightly over-proofed (bake it anyway!).
Day 2: Baking & Cooling (Active Time: 5 mins)
-
Preheat & Prepare (12:00 PM): About 30 minutes before you think your loaf will be ready, preheat your oven to 375°F (190°C). Place a rack in the middle position.
-
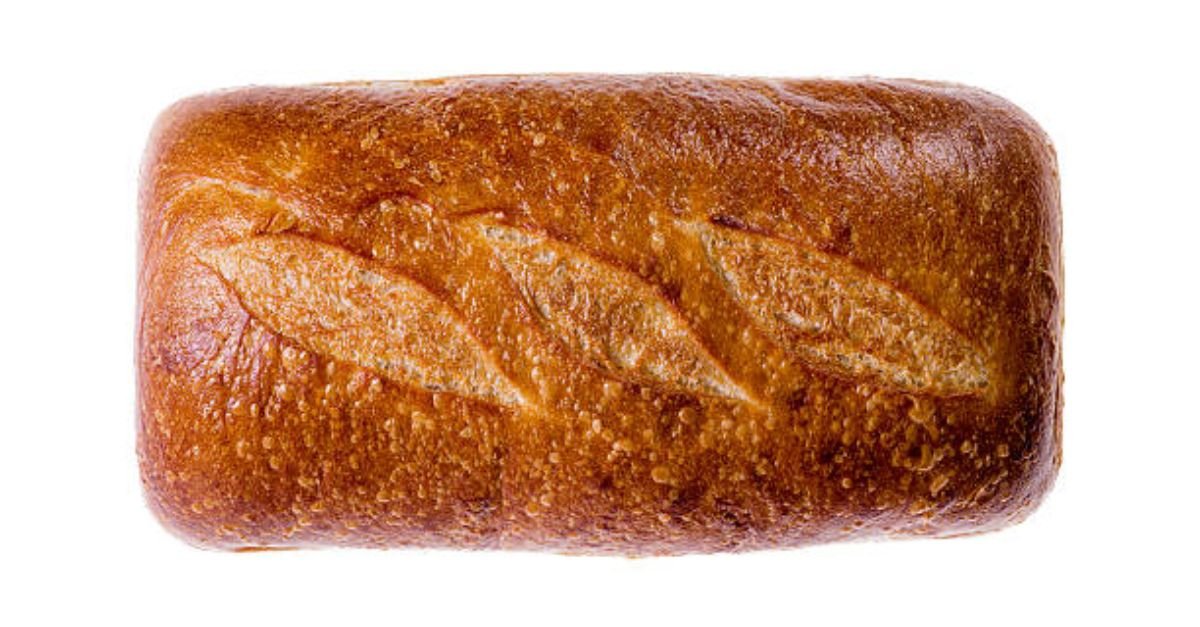
Bake (12:15 PM): Once the loaf is proofed, gently brush the top with a little milk or egg wash (1 egg beaten with 1 tbsp water) for a shiny, golden crust. You can also sprinkle with sesame seeds or oats. Place the pan in the oven and bake for 40-45 minutes. The loaf should be deep golden brown and sound hollow when tapped on the bottom. For guaranteed doneness, an instant-read thermometer inserted into the center should read 205°F (96°C).
-
The Hardest Part: Cooling (1:00 PM): Immediately turn the loaf out onto a wire rack to cool. This is crucial. If you slice into it while it’s hot, the steam will escape and the crumb will turn gummy. Resist the temptation! Let it cool completely for at least 2 hours before slicing. The anticipation will make that first slice all the more rewarding.
Baker’s Tips
-
Starter Activity: Ensure your starter is bubbly and active before using it in the stiff starter build. An “oomph-less” starter will lead to a dense loaf.
-
Stiff Starter Schedule: You can build the stiff starter the night before and let it ferment in the fridge overnight if that fits your schedule better. Just take it out in the morning to come to room temperature for a few hours before using.
-
Dough Temperature: Sourdough is sensitive to temperature. Aim for your final dough mixture to be around 75-78°F (24-26°C) for a predictable fermentation. Use warm or cool water to adjust.
-
Storing Your Loaf: Store this bread cut-side down on a wooden cutting board, or in a paper bag for 3-5 days. For longer storage, slice the entire loaf, wrap it well, and freeze it. Toast slices straight from the freezer for the best “fresh” experience.
Nutrition Information (Per Slice, based on 12 slices)
-
Calories: 210
-
Total Fat: 5g
-
Saturated Fat: 1g
-
-
Cholesterol: 2mg
-
Sodium: 290mg
-
Total Carbohydrates: 35g
-
Dietary Fiber: 2g
-
Total Sugars: 2g (includes 1g added sugars from honey/maple syrup)
-
-
Protein: 7g