Author: Your Name Here
Cuisine: Mexican, Tex-Mex
Prep Time: 45 minutes
Cook Time: 15 minutes
Total Time: 1 hour
Servings: 12 (8-inch tortillas)
There are few things in the culinary world as satisfying as the smell of fresh tortillas wafting through your kitchen. It’s the scent of warmth, comfort, and authenticity. While you can absolutely buy a pack of tortillas at the store, they are a pale, often brittle, imitation of the real thing. Homemade flour tortillas are in a league of their own: soft, pliable, slightly chewy, and with a rich, buttery flavor that needs absolutely nothing else to be delicious.
This recipe is designed to be your go-to. It’s simple, uses everyday ingredients, and delivers perfect results every time. Whether you’re using them for classic tacos, hearty burritos, quesadillas, or simply slathering one with butter and honey for a snack, these tortillas will transform your meal. The process is a labor of love, but the “intensity” is low—it’s a relaxing, almost meditative kitchen project. Let’s get started.
Why This Recipe Works
-
The Fat Ratio: The perfect balance of fat (shortening and baking powder) ensures tortillas that are tender and have just the right amount of layers.
-
Hot Water Technique: Using hot water to hydrate the flour helps to relax the gluten, making the dough easier to roll out and resulting in a more tender tortilla.
-
The Rest is Crucial: Allowing the dough to rest is not a step you can skip. It gives the gluten time to relax, preventing the dough from snapping back when you try to roll it.
-
High-Heat Cooking: A blazing hot skillet or comal is key to getting those beautiful, toasted brown spots without drying out the tortilla.
Ingredient Information
-
All-Purpose Flour: Provides the perfect structure. You can use bread flour for a chewier tortilla, but all-purpose is ideal for that tender, pliable texture we’re after.
-
Baking Powder: This is the secret to a little puff and lightness. It’s not just for pancakes!
-
Salt: Never forget the salt. It seasons the dough and brings out the flavor of the wheat.
-
Shortening: This is the traditional fat for flour tortillas. It creates an incredibly tender crumb and distinct flakiness. You can substitute with lard for a more traditional, savory flavor, or use coconut oil for a dairy-free/vegetable option.
-
Warm Water: The temperature is important. Hot water (but not boiling) starts to cook the starch, which helps create a soft and pliable dough.
Recipe Details: Time & Intensity
-
Total Time: 1 Hour
-
Prep Time: 45 minutes (this includes the 30-minute rest!)
-
Cook Time: 15 minutes
-
-
Intensity Level: Low to Medium. This recipe requires patience and a gentle hand, but no advanced culinary skills. It’s a great project for a weekend afternoon or a relaxing evening. The most “intense” part is rolling the tortillas perfectly round, but even imperfect ones taste fantastic.
The Recipe
Equipment
-
Large mixing bowl
-
Pastry cutter or two forks (or your hands)
-
Measuring cups and spoons
-
Wooden spoon
-
Clean kitchen towel or plastic wrap
-
Rolling pin
-
Cast iron skillet, comal, or large non-stick frying pan
-
Spatula or tongs
-
Plate and a clean kitchen towel for keeping tortillas warm
Ingredients
-
3 cups (375g) all-purpose flour, plus more for dusting
-
1 ½ teaspoons baking powder
-
1 teaspoon fine sea salt
-
⅓ cup (70g) vegetable shortening, lard, or coconut oil
-
1 cup (240ml) hot water (not boiling, but very hot to the touch)
Step-by-Step Instructions
Step 1: Combine the Dry Ingredients
In your large mixing bowl, whisk together the 3 cups of all-purpose flour, the baking powder, and the salt. This ensures the leavening and seasoning are evenly distributed throughout the dough.
Step 2: Cut in the Fat
Add the shortening to the bowl. Using a pastry cutter, two forks, or your fingertips, cut the shortening into the flour mixture. You want to work it until the mixture resembles coarse crumbs with pea-sized pieces of fat throughout. Some larger, flat pieces of fat are great—they will create the little pockets of flakiness in your cooked tortillas. This step is crucial for texture, so don’t rush it.
Step 3: Add the Hot Water
Make a well in the center of the flour mixture and pour in the hot water. Use a wooden spoon or a sturdy spatula to stir everything together. It will look shaggy and messy at first. Keep stirring until it forms a cohesive, sticky dough. If there are dry bits at the bottom of the bowl, you can add a teaspoon or two of extra hot water, but be careful not to add too much.
Step 4: Knead the Dough
Turn the dough out onto a lightly floured surface. It will be a bit sticky, so dust your hands with flour as well. Knead the dough gently for about 2-3 minutes. Don’t over-knead like you would with bread! You simply want to bring it together into a smooth, soft, and supple ball. It should feel like a baby’s bottom—very smooth and soft.
Step 5: The Essential Rest
Wrap the dough ball tightly in plastic wrap, or place it back in the bowl and cover it with a damp kitchen towel. Let it rest at room temperature for at least 30 minutes. This is non-negotiable! This resting period allows the gluten to relax, which is the secret to rolling out the tortillas paper-thin without them shrinking back.
Step 6: Portion the Dough
After the rest, uncover the dough. It will have relaxed beautifully. On a lightly floured surface, roll the dough into a long log. Cut the log into 12 equal pieces. To get them even, you can cut the log in half, then each half in half again, and then each of those quarters into three pieces. Gently roll each piece into a smooth little ball.
Step 7: Second Rest (Optional but Recommended)
Place the dough balls on a plate or tray, cover them with the damp kitchen towel or plastic wrap, and let them rest for another 10-15 minutes. This second short rest makes them even easier to roll out.
Step 8: Preheat Your Pan
While the dough balls are resting, place your cast iron skillet or comal over medium-high to high heat. You want it screaming hot. The pan is ready when a drop of water flicked onto its surface dances and sizzles away immediately.
Step 9: Roll Out the Tortillas
Take one dough ball and keep the others covered so they don’t dry out. On a lightly floured surface, use your rolling pin to roll the ball into a thin, rough circle. Start from the center and roll outwards, rotating the dough a quarter turn after each roll. This helps you achieve a more circular shape. Roll it to about 1/16-inch thickness. Don’t worry if it’s not a perfect circle—the rustic look is part of their homemade charm!
Step 10: Cook the Tortilla
Carefully transfer the raw tortilla to the hot, dry skillet. It should start to bubble within about 30 seconds. Let it cook for 45-60 seconds, until the bottom has developed light brown, toasty spots. Flip it using a spatula or your fingers (carefully!) and cook the other side for another 30-45 seconds. You want it to puff up slightly.
Step 11: Keep Warm
As soon as the tortilla comes off the heat, transfer it to a plate and cover it immediately with a clean kitchen towel. The steam they release will keep them soft and pliable. Repeat the rolling and cooking process with the remaining dough balls, stacking them under the towel as you go.
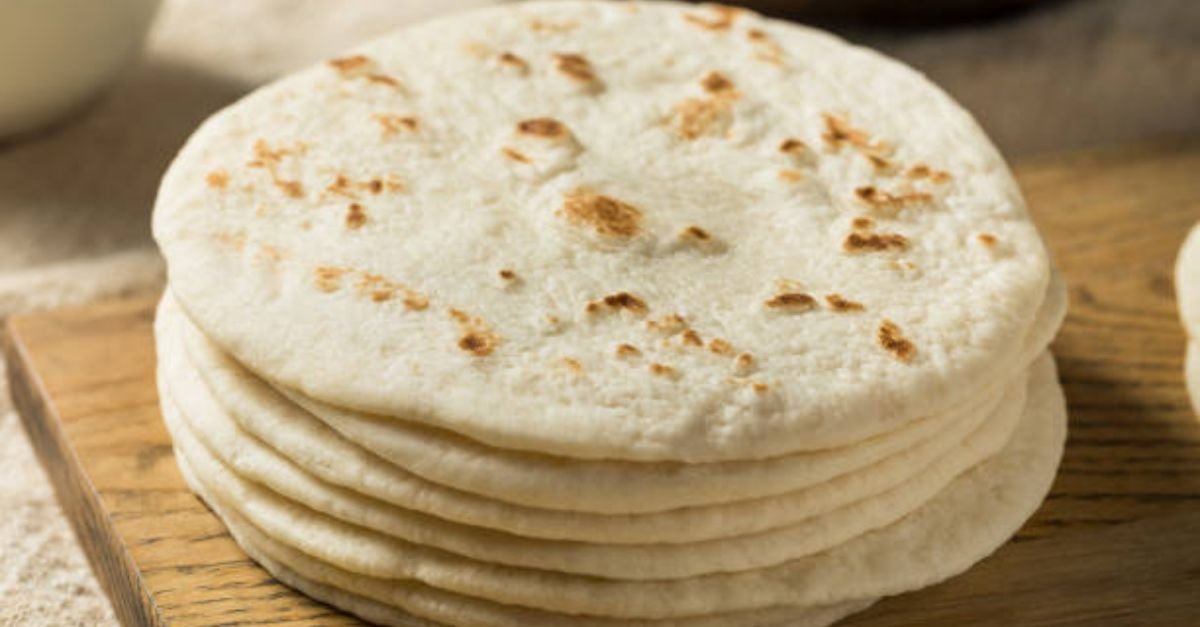
The Finale
Congratulations! You’ve just made a stack of the most incredible, soft, and fragrant flour tortillas. Peek under the towel and you’ll see a beautiful pile of pale gold, speckled with toasty brown spots. The aroma is intoxicating.
Take one while it’s still warm. Tear off a piece. Notice its pliability, its tenderness. Taste it. It’s slightly savory, a little bit buttery, and wonderfully chewy. This is the taste of your effort, and it is infinitely better than anything from a package. Serve them immediately with your favorite meal, or use them throughout the week.
How to Use & Store Your Tortillas
-
To Serve: Pile them high next to a pot of [Link to Chicken Tinga Recipe] or a pan of [Link to Carne Asada]. They are also perfect for [Link to Breakfast Burritos].
-
To Store: Let any completely cool tortillas stack. Place them in a zip-top bag or an airtight container. They will keep at room temperature for 2-3 days or in the refrigerator for up to a week.
-
To Reheat: To bring them back to life, simply heat them in a dry skillet for about 15-20 seconds per side, or wrap a stack in a damp paper towel and microwave for 30 seconds.
Nutrition Information
(Per serving: 1 tortilla)
Note: Nutritional information is an estimate and will vary based on the specific ingredients and brands used.
| Nutrient | Amount |
|---|---|
| Calories | 198 kcal |
| Carbohydrates | 28 g |
| Protein | 4 g |
| Fat | 8 g |
| Saturated Fat | 2 g |
| Polyunsaturated Fat | 2 g |
| Monounsaturated Fat | 3 g |
| Trans Fat | 0 g |
| Cholesterol | 0 mg |
| Sodium | 291 mg |
| Potassium | 52 mg |
| Fiber | 1 g |
| Sugar | 0 g |
| Vitamin A | 0 IU |
| Vitamin C | 0 mg |
| Calcium | 44 mg |
| Iron | 2 mg |